

UPDATE Celovote now works best within Celo Terminal wallet. Download Celo Terminal and checkout updated guides to self-custody here:
- https://docs.celoterminal.com/guides/self-custody
- https://docs.celoterminal.com/guides/staking-with-celovote
Using Celovote through web UI is no longer recommended. Use Celo Terminal instead. This guide is just kept around for historical purposes.
Wondering how to own and self custody newly acquired CELO tokens? Or how to earn rewards by participating in its proof-of-stake protocol?
You have come to the right place. In this guide we will go through all the steps needed to own CELO tokens and earn rewards with it using a hardware wallet and a simple to use web app.
Ledger hardware wallet
We strongly recommend acquiring a hardware wallet to self custody not just CELO but any other crypto token. Hardware wallets provide a very strong last line of defense against most types of crypto token loss or theft.
CELO tokens can be stored on Ledger hardware wallets. It is supported by
both Ledger Nano S and Ledger Nano X versions. We would recommend getting the
Ledger Backup Pack since it can be useful to
have the second wallet handy as a backup in case of unexpected circumstances.
Setup
After you acquire the Ledger device, follow instructions from their website to set it up.
Install Celo application
NOTE Celo application is included only in the developer store for now. It is undergoing additional review by the Ledger team before it is approved in the public store.
Before installing the app, you need to enable “Developer Mode” in the Ledger Live app:
- Open Ledger Live app.
- Click settings (gear icon at the top right corner).
- Click on the “Experimental Features” menu.
- Enable “Developer Mode”.

Enable Developer Mode in Ledger Live
To install the Celo app follow these steps:
- Open Ledger Live app.
- Click “Manager” on the left menu.
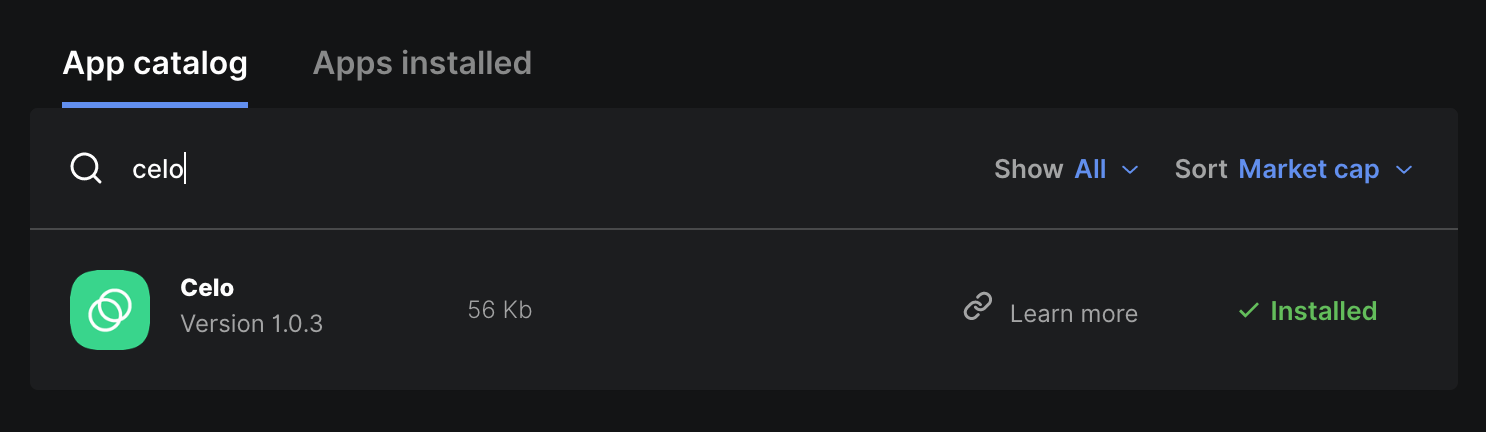
- Search for “Celo” and install it on the device.
Install Celo application using Ledger Live
Self custody CELO
Now that you have your Ledger wallet setup, you need to get your account addresses from your wallet and test receiving and sending of CELO tokens.
You can use Celovote web app for this.
Connect to get wallet addresses
- Go to https://celovote.com
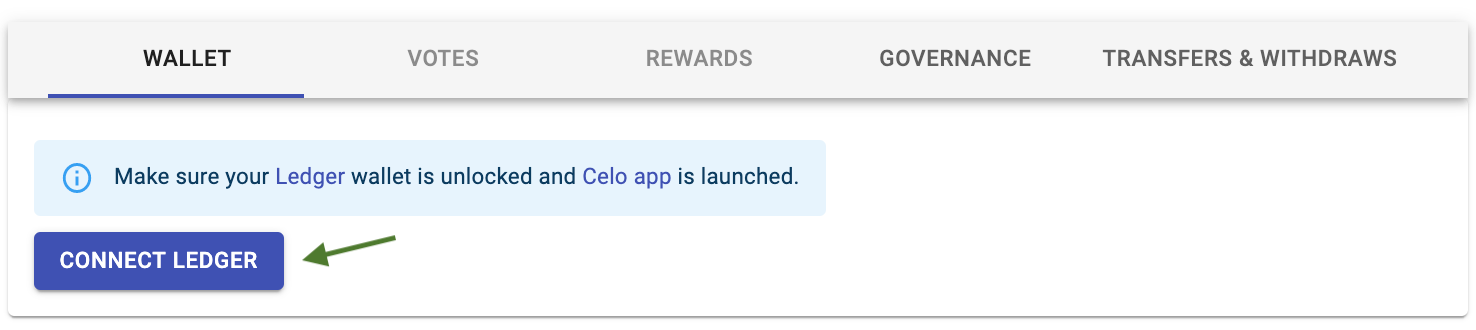
- Connect your Ledger wallet to your computer and make sure it is unlocked and the Celo app is launched.
- Click the “Connect Ledger” button.
Connect Ledger in Celovote
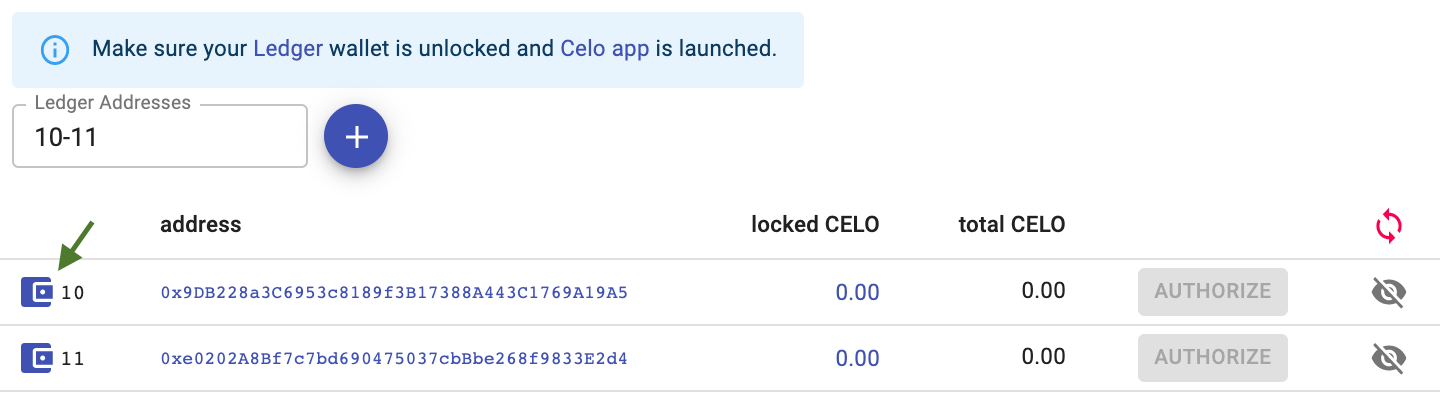
Once the connection is successful, you should see 2 Celo addresses from your wallet. Each address is a completely separate account and can be used independently.
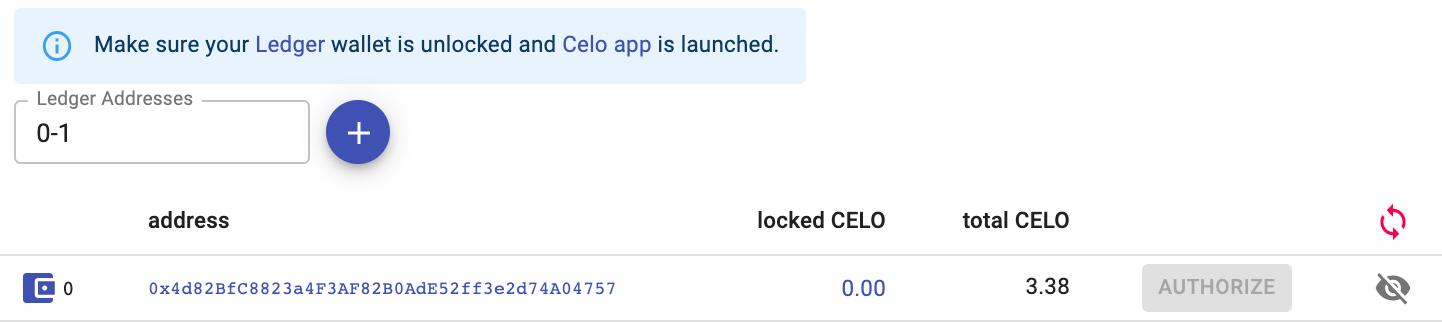
Wallet addresses
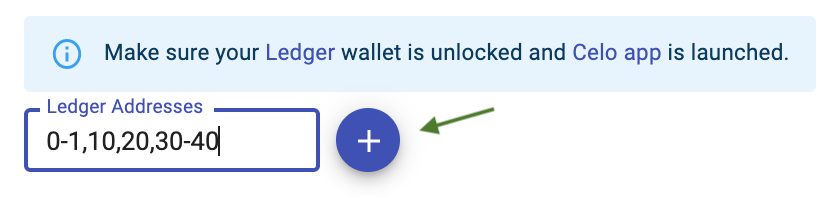
You can generate as many new addresses as you would like by adding new indexes in the “Ledger Addresses” text field and pressing the Plus button.
Generate new addresses
Verify addresses
Before you use any of the addresses, it is critical to verify that the address is indeed coming from your Ledger wallet:
- Click the little Wallet icon next to the address.
- This should display a “Verify Address” prompt on your Ledger Wallet device.
- Make sure you verify that the displayed address matches what is shown in the Celovote web app.
Verify Wallet addresses
DO NOT skip this verification step. Verifying that the address is indeed coming from your wallet protects you not just from potential malicious actors but also from accidental mistakes or bugs that can always exist in any wallet software.
Test receiving and sending of CELO tokens
Now that you have a verified Celo address, you can test to make sure you can send and receive CELO tokens with it. We always recommend testing transfers with a small amount (<10) of CELO at first to be safe, and to avoid any accidental loss of funds due to mistakes.
Assuming you have acquired your CELO tokens on an exchange (Bittrex, OkCoin, OkEx…), you can use the withdraw functionality to withdraw CELO tokens to your own Celo address. Even though transfers in the Celo network itself take <5 seconds, withdrawing tokens from a centralized exchange can still take a few minutes due to delays within exchanges themselves.
Once withdraw is finished, you should be able to confirm that your address has non zero CELO balance:

CELO balance
Once receiving of CELO is confirmed, test to make sure you are able to send it too, by using “Transfers & Withdraws” tab from Celovote. To test, you can send your CELO tokens to another one of your Celo addresses, or you can just deposit it back to your account on the centralized exchange (i.e. Bittrex, OkCoin, etc…).
CELO balance
Earn CELO rewards
Celo network as part of its proof-of-stake protocol allows holders of CELO tokens to earn rewards if they participate in securing the network by locking the CELO tokens and voting in the elections.
You can read more in-depth technical documents about all this from official cLabs documentation pages:
- https://docs.celo.org/celo-codebase/protocol/proof-of-stake
- https://docs.celo.org/celo-holder-guide/voting-validators
Celovote provides a service that allows CELO holders to earn these rewards by delegating the voting rights to the service. Celovote performs all the voting on behalf of the user and optimizes votes for maximum returns. Users still retain full custody of their own CELO tokens and can stop using the service at any time.
Locking CELO
The first step to participate in Celo’s proof-of-stake protocol requires locking up CELO tokens so that they can be used for voting and earning rewards. You can lock (and unlock) CELO directly from the Celovote web app.

Lock CELO
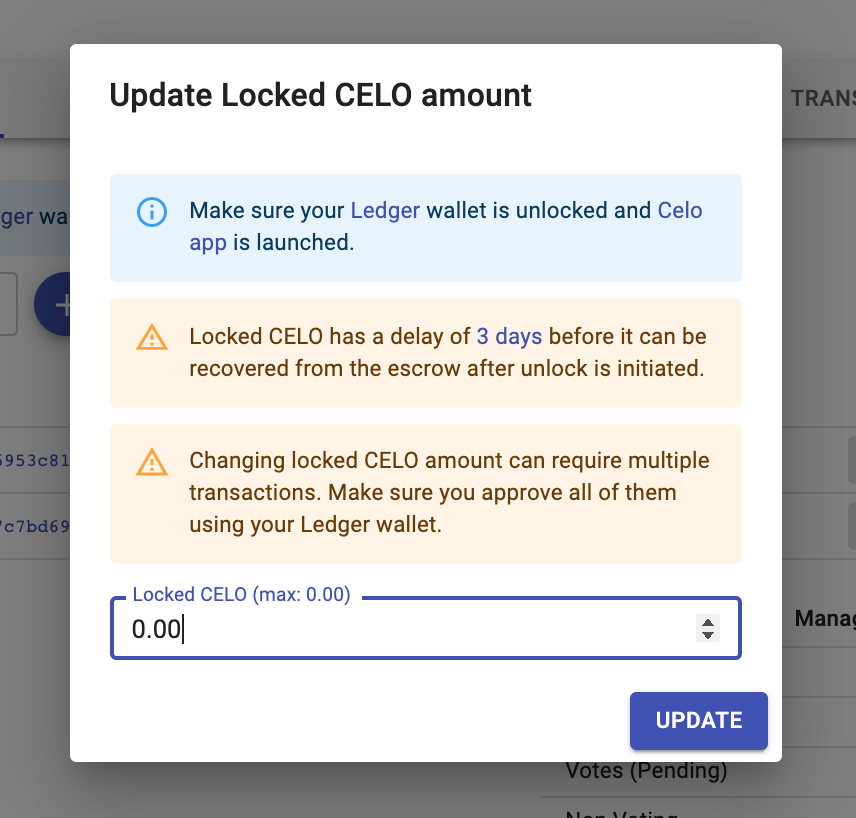
Lock CELO
To register an address with the Celovote service, it needs to have a minimum of at least 100 CELO locked.
Authorizing Celovote
If an address has a minimum of 100 CELO locked, it can delegate its voting rights to the Celovote service.

Delegating voting rights to Celovote
Once an address is authorized, Celovote will cast votes for different validator groups. It can take up to an hour for votes to be cast. Once votes are cast, you can see all currently voted validator groups in “Votes” tab.
Rewards
CELO rewards are distributed every epoch. Each epoch is ~1 day. You can see all the accumulated rewards in the “Rewards” tab. You can also read more about the Rewards tab in our previous article.
Governance
CELO token holders can also participate in governance voting which shapes future changes and direction of the Celo network. Read more about participating in governance in our previous article.
Wrap Up
Hopefully this guide is useful for all new CELO token holders. Feel free to send any issues, or suggestions for improvements to [email protected].